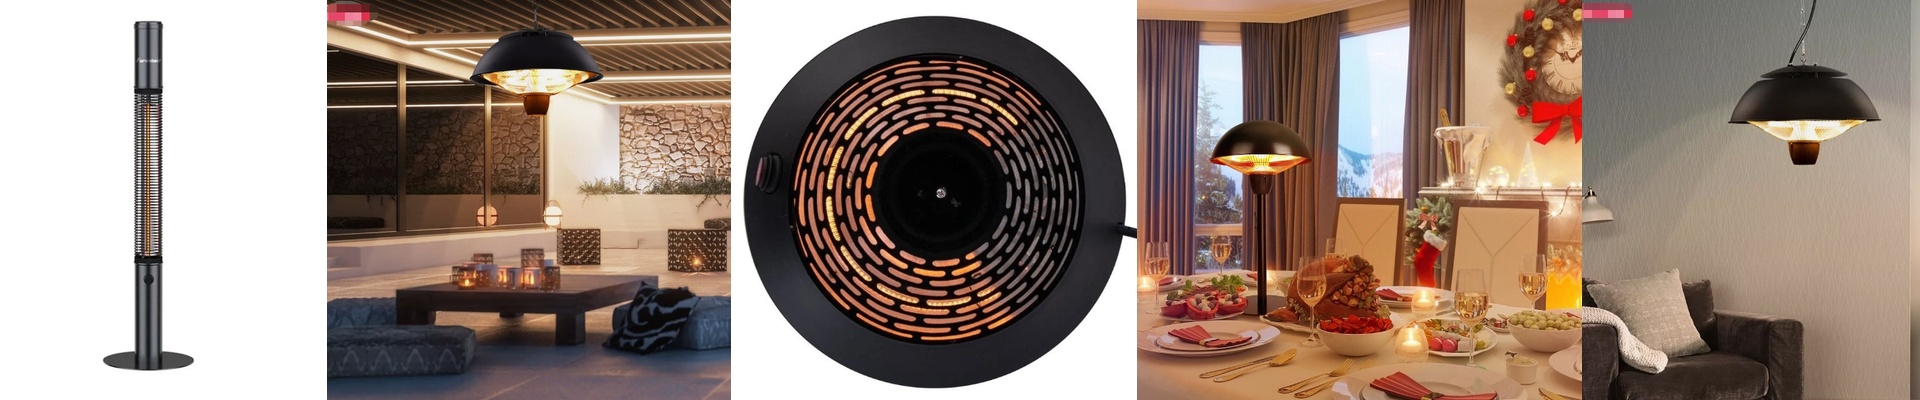
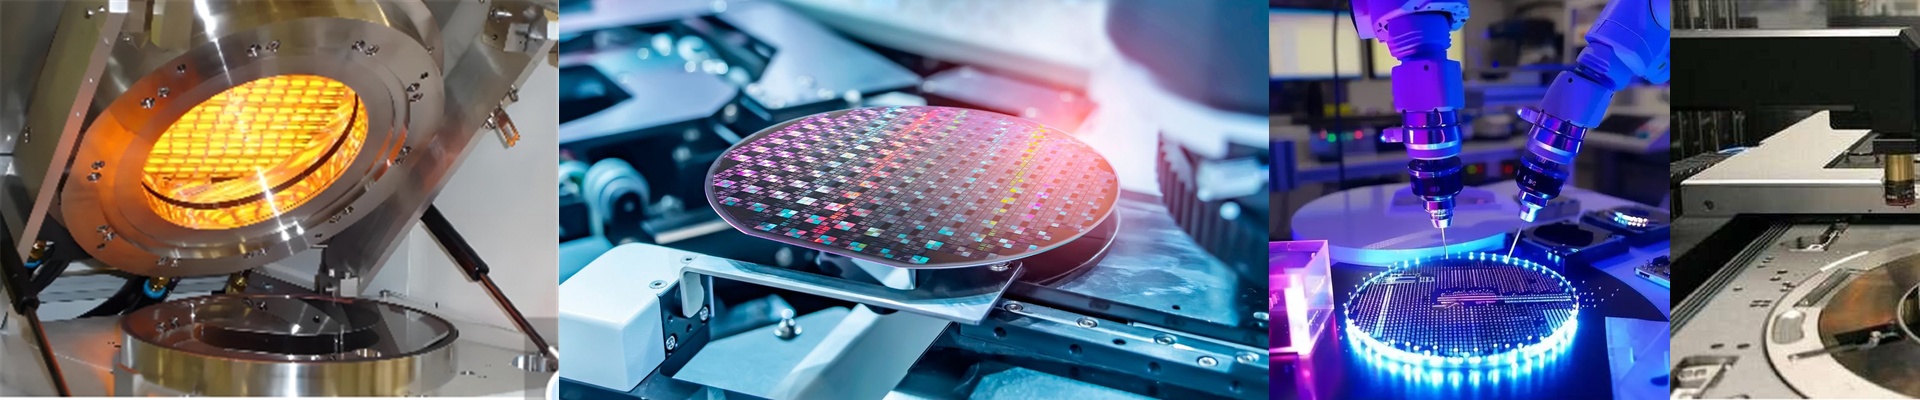
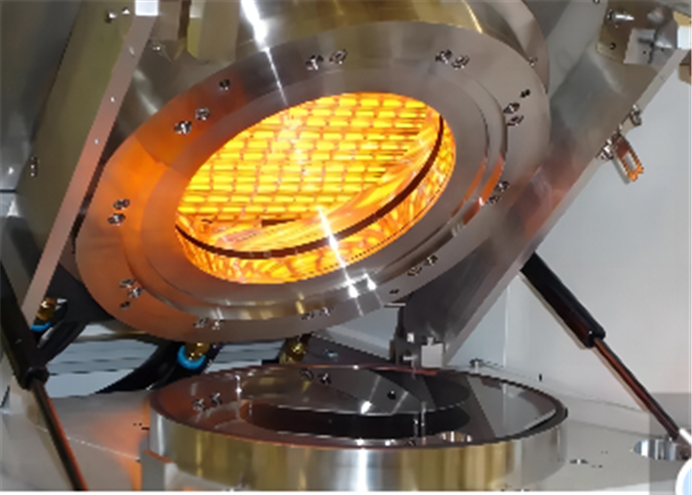
On the fab floor, you know how it goes. A die attach adhesive cure that drifts even a degree throws off wire bond pull strength and die shear, and suddenly you’re staring at rework—or scrap. You need heat that lands exactly where the process card calls for it, cycle after cycle. No exceptions. What matters under the hood Our curing platform holds setpoint at ±0.1°C across the substrate, using short-wave infrared emitters with fast-response closed-loop control. The hot zone stays Class 1–100 compatible, and we verify zero particle generation with in-situ monitoring. Repeatability is engineered into the thermal stack: bond-line uniformity, controlled ramp rates, and soak timing you can trust. Energy use is measured, not guessed—typical profiles pull less load at the wall while still delivering the required thermal budget. Why this matters in packaging Die attach adhesive curing sits right between packaging and final test, where throughput and yield don’t negotiate. Tight thermal control cuts down voiding and under-cure, which means fewer scrapped units and less rework. Short cycle times plus stable setpoints translate into higher uptime, fewer parameter excursions, and maintenance windows you can actually plan around. It integrates cleanly with standard handlers and oven interfaces, so you can drop it in without re-qualifying the whole flow. What you need to plan for The emitter array needs its own power bus and controlled airflow—plan for 400 V service and a dedicated exhaust path to keep cleanroom particle specs intact. Profile development is tool- and adhesive-dependent; we provide starting recipes, but final qualification on your exact substrate stack is mandatory. Once you lock it down, the process stays locked. That’s the whole point.